2. Limit Moss & Algae Growth
Environmental factors can contribute to moss and algae growth on your roof, including a north-facing roof (if you live in the northern hemisphere), lots of shade trees and a wet climate. Moss absorbs water, and large clumps of moss growing on your roof can damage shingles by raising the shingle edges and exposing the undersides to water.
Algae can leave ugly dark streaks on a roof’s surface. Algae stains can be minimized with a solution of chlorine bleach and water. If your roof’s environment is conducive to moss or algae, your best solution may be regular treatments.
PRO TIP: StreakGuard™ Algae Resistance Protection on Owens Corning® shingles is made possible by using a specialized copper-lined granule from 3M, a leading producer of roofing granules.
3. Remove Nearby Tree Branches
Similar to the potential problems from walking on a roof, trees can disturb roof granules by rubbing against shingles, especially during windstorms. Trim branches as much as necessary so that even on the windiest of days, they aren’t touching your roof or gutters.
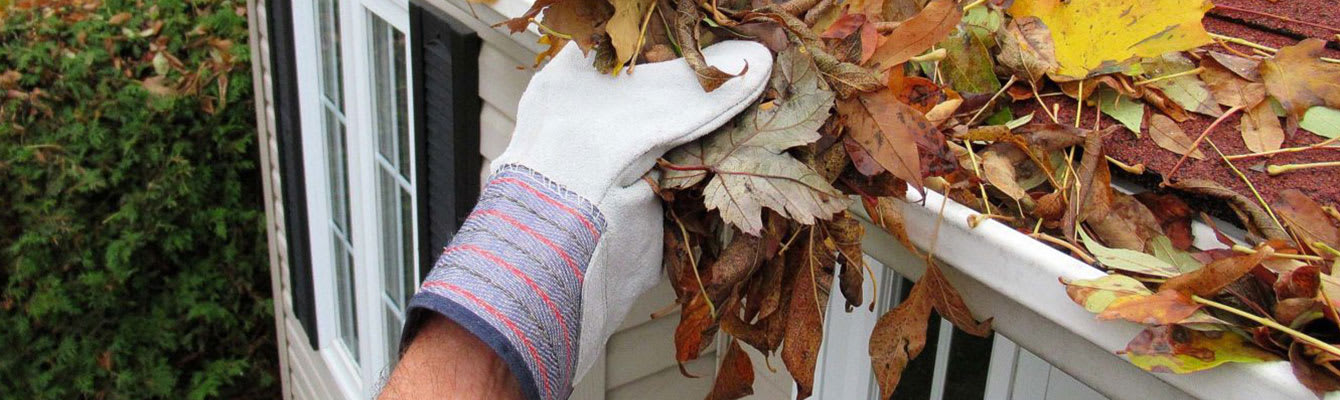
4. Clear Off Organic Debris
Trees provide shade in the summer and add beauty to your landscape. Unfortunately, they’re a constant source of debris, from maple leaf helicopters in spring to fallen leaves in autumn. Organic matter can absorb water, causing your shingles to remain in contact with moisture for lengthy periods. In addition, when rainwater runs down your roof, it can pick up debris, leaving it to settle in your gutters.
Remove organic residue from your roof at least twice a year or more, depending on your region’s tree activity. You may be able to gently remove the debris with a broom or leaf blower depending on roof access, for example, from an upstairs window.
Remember, don’t use a tool that would rub the shingles’ surface because it could dislodge granules.
Roof Check-Ups
Your roof may have been a perfect defense against the elements when it was brand new. But over time, weathering and natural aging can affect even the best of designs. That’s why it’s good practice to inspect vulnerable areas periodically.
5. Make Sure Nearby Wall Cladding and Windows Are Watertight
After a major rainstorm or extended period of precipitation, it’s a good policy to check the exterior of your home. Look for areas that remain moist or show streaks of wetness. You might have gutter or soffit problems, causing water to cascade down your walls rather than the downspouts.
Also, check your windows; look around the sills and casings for warping or loss of caulk. These are all areas that can lead to moisture infiltration.
6. Inspect Flashing
Flashing helps ensure a watertight seal in areas where two roof planes meet. For example, you might find flashing where your chimney or vent pipes emerge. Flashing is often placed in roof valleys – the channel created when two roof slopes converge.
Find a safe, comfortable vantage point to view flashing, perhaps a second-story window. If you see that the flashing is rusted, dented, missing fasteners or the sealant is rotting away, you may want to contact a roofing contractor. They can inspect the flashing in greater detail to see if a repair or replacement is necessary.
7. Examine the Soil Stack
Some vent pipes are sealed with a rubberized gasket. Over time the gasket itself or the accompanying sealant can dry out and fall apart. Periodically, check that all roof penetrations are sealed tightly against the elements.
Again, if you notice this from a safe vantage point, call a contractor to get an official inspection.
8. Beware of Ice Dams
Snow on the roof and cold temperatures could bring an increased risk of ice dams.
Ice dams form when rooftop snow melts (due to sun exposure or heat transfer from the roof deck), trickles down your roof and then refreezes over the eaves.